How to Repair Scratches on a Solid Wooden Door Easily?

Time:2026-07-06 Author:Oliver
0%

Repairing scratches on a solid wooden door is a common homeowner concern. According to a report from the National Wood Flooring Association, over 65% of homeowners encounter surface damage on wooden doors. These scratches can detract from the door's overall beauty and integrity. Knowing how to repair scratches on a solid wooden door is essential for maintaining its appeal and extending its lifespan.

Expert woodworker Daniel Adams emphasizes the importance of proper care. He states, “Regular maintenance can prevent minor blemishes from becoming major problems.” This insight highlights the need for proactive measures in preserving wooden furniture. Homeowners can benefit from techniques that restore the original look of the door. However, not every method is foolproof, and some repairs may not fully eliminate the evidence of wear.

It’s crucial to approach these repairs with the right tools and techniques. Many DIYers underestimate the process, leading to unsatisfactory results. Understanding the materials involved, such as wood fillers and stains, can make a significant difference. In the hands of someone inexperienced, the outcome can be less than ideal, reminding us that even simple solutions require thoughtful execution.
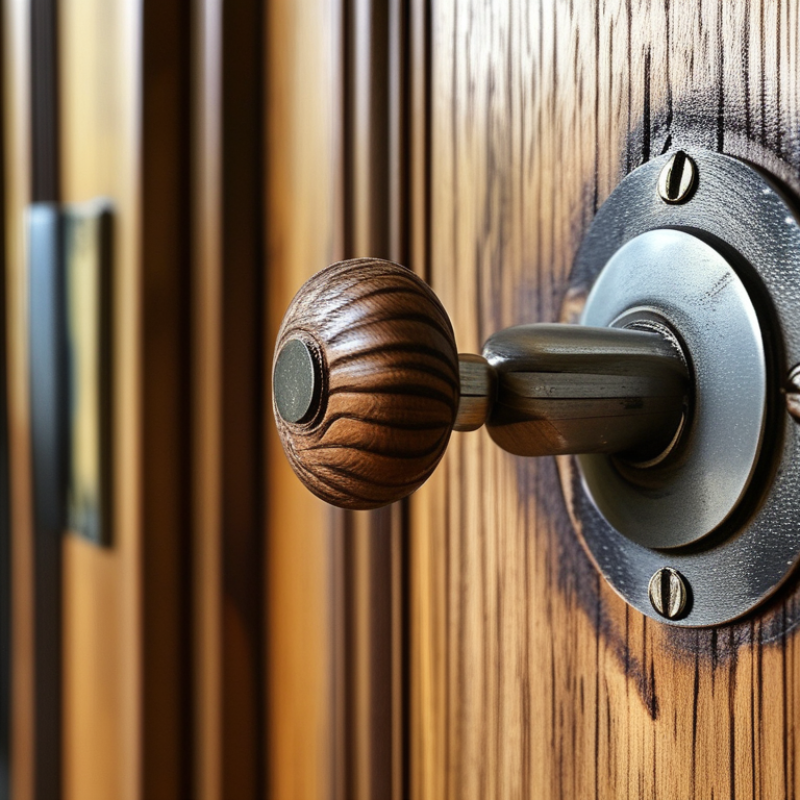
How to Repair Scratches on a Solid Wooden Door Easily?

Tools and Materials Needed for Repairing Scratches on Wooden Doors

When tackling scratches on a solid wooden door, having the right tools and materials is essential. Begin with fine-grit sandpaper. This will help smooth the affected area without damaging the surrounding finish. A soft cloth is also necessary for applying any repair solution later on. A wood filler can be useful, especially for deeper scratches. Choose a color that closely matches your door. For minor scuffs, consider using a wood touch-up pen that blends easily with the wood.

Additionally, consider wood finish options like varnish or polyurethane. These products help protect the door and give it a uniform appearance. A small paintbrush or applicator can assist in applying the finish precisely. If the door has a matte finish, a matte sealer will ensure the repair doesn’t stand out. Always test these products on an inconspicuous area first. Sometimes, the repair process can go awry, leaving visible patches. Don't rush; patience is key. Ensuring you follow each step carefully will yield the best result.

Identifying the Type and Depth of the Scratch on the Door

When repairing scratches on a solid wooden door, identifying the type and depth of the scratch is crucial. A light scratch might only affect the surface finish. You can usually see it glint in the light. For deeper scratches, the wood underneath may be visible. This requires more attention.

Using a flashlight can help you assess the damage better. A small scratch may be easily treated with a touch-up pen. If it is deeper, consider using wood filler or sanding it down slightly. Always test these methods in an inconspicuous area first. Make sure to choose a filling material that matches the wood type and grain.

An inconsistency in the repair can lead to uneven appearances. This might not be noticeable from afar but becomes obvious up close. Realizing this can help refine your technique. You might need several attempts before achieving a seamless finish. Keep this in mind as you progress through the repair process. Your goal is a door that looks as good as new.

Scratch Repair Techniques for Solid Wooden Doors

This chart illustrates the repair difficulty levels associated with different types of scratches on solid wooden doors. The repair difficulty increases with the depth of the scratch, measured on a scale from 1 to 10.

Step-by-Step Guide to Sanding and Filling Scratches Effectively

Scratches on solid wooden doors can impact the overall appearance of your home. Fortunately, repairing them is straightforward with a few essential tools. Start by gathering sandpaper of varying grits—120, 220, and 320 work well. A dust mask and a clean cloth are also necessary for this task. Pay attention to the type of wood. Pine, oak, and cherry may require different approaches.

Begin the repair by gently sanding the scratched area. Use the coarser sandpaper first, applying light pressure. It’s essential to sand with the grain of the wood. This process can create fine dust, which you should clean up before moving on. After the deep scratches have been minimized, switch to finer sandpaper for a smoother finish. Make sure to wipe the area clean between grits.

Next, fill any remaining imperfections with wood filler that matches your door color. Apply it carefully, ensuring an even surface. Once it dries, sand it lightly with the finest grit. This can be a bit messy and requires patience. Take your time during each step to achieve the desired result. Rushing through might lead to uneven surfaces that don’t blend well. This hands-on approach can transform your wooden door, reviving its charm and elegance.

Applying Stain or Finish for a Seamless Repair on Wooden Surfaces

When repairing scratches on a solid wooden door, applying stain or finish is key. Choose a stain that matches your door. Test it on a small area first. Let it dry before comparing. This helps prevent mismatching.

Clean the scratched area thoroughly before staining. Use a soft cloth and mild soap to remove dust and grime. Allow it to dry completely. Apply the stain with a brush or cloth, following the wood grain. This allows for a more natural look.

After staining, consider applying a clear finish for added protection. It not only reinforces the area but also enhances shine. A properly applied finish can help mask imperfections. Be sure to apply thin layers and let each dry fully before adding another. Mistakes might happen, and that’s okay. Learn from them to improve your technique.

Preventive Measures to Avoid Future Scratches on Solid Wooden Doors

Scratches on solid wooden doors can be unsightly and frustrating. Preventing these scratches can save you time and effort. According to a recent survey by the National Wood Flooring Association, 42% of homeowners reported noticing scratches on their wooden furniture, primarily from pets and furniture movement.

To minimize the risk of scratches, consider using felt pads under furniture legs. This simple measure can significantly reduce wear and tear on door surfaces. Additionally, avoid placing items directly against the door. A small gap allows for airflow and protects your door from potential gouges.

Regular maintenance is essential. Humidity and temperature fluctuations can cause wood to expand and contract, making it more vulnerable to scratches. Using a humidifier in winter and ensuring proper temperature control can maintain the wood's integrity. Inspect your doors regularly for any signs of wear. Small actions today can prevent larger repairs in the future.

Tip: Use a soft cloth when cleaning wooden doors. Harsh materials can cause micro-abrasions, which build up over time and worsen the situation. Taking these preventive measures ensures your solid wooden doors remain beautiful and functional for years to come.

FAQS

: What tools do I need for repairing scratches on wooden doors?

: You'll need fine-grit sandpaper, a soft cloth, wood filler, and a wood touch-up pen.

How do I sand the scratches effectively?

Start with coarse sandpaper, sand with the grain, and gradually switch to finer grits.

What's the importance of cleaning before applying stain?

Cleaning ensures no dust or grime interferes with the stain application for a smooth finish.

How can I match the wood filler color to my door?

Choose a filler color that closely resembles the wood tone of your door for a seamless look.

Why should I test products on a small area first?

Testing helps prevent mismatches and visible patches once the repair is complete.

What should I do if my repair process doesn’t go as planned?

Mistakes happen; reflect on them and adjust your technique in future repairs.

How thin should I apply my finishes?

Apply thin layers of finish, allowing each to dry completely before adding more.

What's the best way to ensure a smooth final appearance?

Sand lightly after filling, and take your time to avoid rushing through the process.

Can I use various sandpaper grits during the repair?

Yes, using different grits helps achieve a smoother finish, enhancing the overall repair.

How can I maintain patience during repairs?

Remember, rushing may lead to uneven surfaces that ruin your hard work; take your time.

Conclusion

In the article "How to Repair Scratches on a Solid Wooden Door Easily," the process of restoring the beauty of wooden doors is outlined in a clear and concise manner. First, it emphasizes the importance of gathering the appropriate tools and materials needed for scratch repair. Understanding the type and depth of the scratches is crucial, as this determines the specific repair approach. The article then provides a step-by-step guide on effectively sanding and filling the scratches, ensuring a smooth surface for the next steps.

Additionally, it details how to apply stain or finish for a seamless repair, allowing the door to match its original aesthetic. To prevent future damage, the article suggests implementing various preventive measures, providing readers with a comprehensive understanding of how to repair scratches on a solid wooden door while maintaining its integrity and appearance.

Oliver

Oliver

Oliver is a seasoned marketing professional with a wealth of expertise in driving brand awareness and engagement. With a deep understanding of our company's product offerings, he consistently delivers high-quality content that enriches our professional blog. His insights not only shed light on......